Our video communication system is quite robust and is compatible across nearly all devices and browsers.
Features:
● Peer to Peer Video Communication System
● Screen Sharing for both Veterinarian and Client
● Attach Images, Videos, and Documents – Both the expert and user can attach
files during the consultation
● Consultations can be recorded
● Consultation History -If you’ve done previous consultations with the expert, the
consultation summary per meeting is included at the bottom of the consultation view.
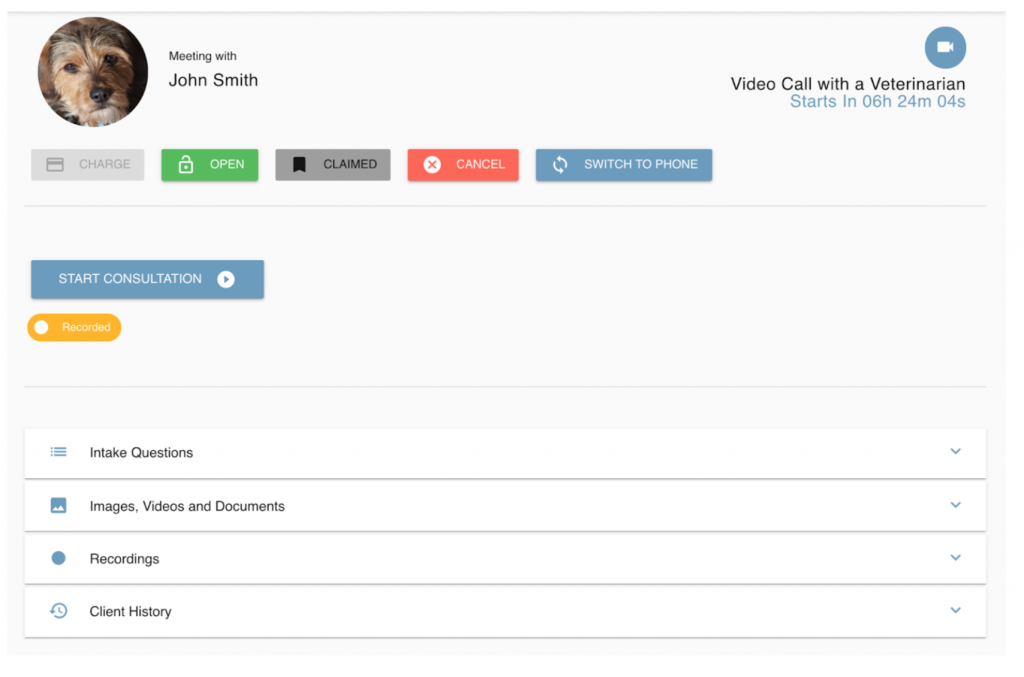
Let’s start by walking through the features within the top control bar of the video consultation:
● Charge – If you’re charging for the consultation, this button will be enabled. After you’re finished your consultation, simply press the ‘Charge’ button and it will bill the client and transact the money into your account.
● Open – This button enables your customer to continue communicating with you via the message box within the video consultation view after the consultation has been completed. If you want to disable this ability after the consultation has been completed, press the ‘Open’ button and it will change the button to ‘Locked’. You can ‘unlock’ the consultation at any time by pressing the button again.
● Claimed – This button showcases that the consultation has been ‘claimed’ by an
expert. If the consultation was not claimed, the button would read ‘Available’. If a consultation is available, you can click the ‘Available’ button to claim it.
● Cancel – If you are unable to perform the consultation, you can cancel the consultation by clicking the ‘cancel’ button. Once clicked, it will send a cancellation email to your client and encourage them to re-book another consultation.
● Switch to Phone – In the event that your customer’s video does not work (poor internet connection, poor wifi, etc), you can click ‘Switch to Phone’. This will remove the video controls and replace them with a ‘Start Phone Call’. Once clicked, our system will call your phone (number you provided) and then bridge in your client automatically.
Ready to Begin a Consultation?
So you’re in the consultation view and ready to start the video consultation, click ‘Start Consultation’ to begin your video. Here’s a quick overview of the video controls
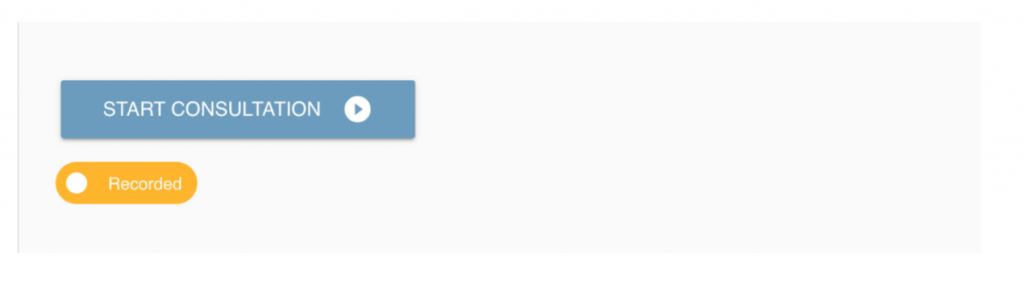
Once clicked, this will begin the video consultation. You may have to wait for your customer to join. Once they’ve joined, they will automatically appear on your screen. To share your screen, simply click the screen share icon within the video control panel and your screen will appear below your video.
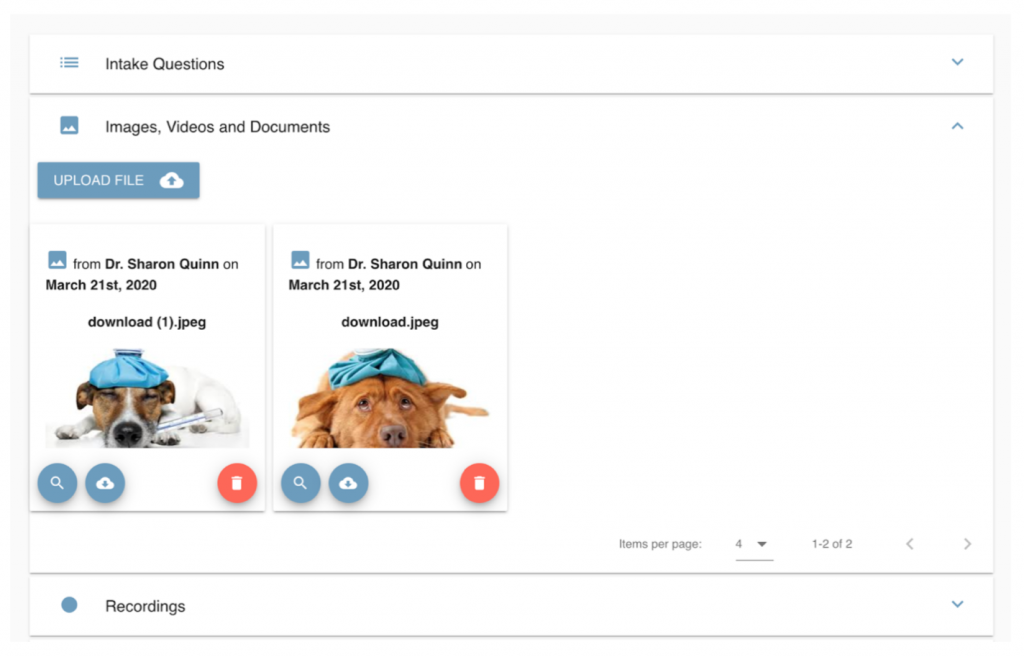
During the consultation, both the client and yourself can attach images, videos, and documents within the consultation view. Veterinarians can also attach prescriptions and quotes here as well. If you’re attaching a prescription, simply take a picture of it with your phone and attach it, or scan the prescription in and attach it.
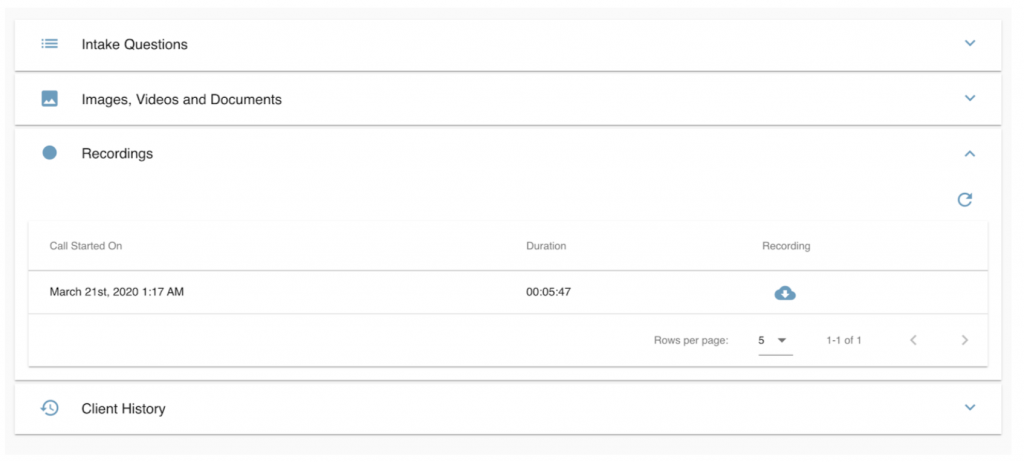
If you’re recording the consultation, the recording will be made available within 10 minutes of the consultation completing. Simply click the view button beside the recording to view it. There is a download prompt once your viewing the recording
The client history with your clinic is available at the bottom of the consultation view. This will showcase the notes that you’ve provided about each specific consultation.
Done the Consultation?
1. When you’ve completed your consultation, click ‘Red Phone Button’ to turn off your video.
2. At the bottom of the consultation room, click ‘Add Consultation Note’ to provide your consultation summary.
3. Next, click the ‘Open’ button to lock the consultation to ‘Lock’ the consultation.
4. If you’re charging for the consultation, don’t forget to click the ‘Charge’ button at the
top of the consultation view in order to get paid.